Introduction drawing:1enzi6g2cvg= fox
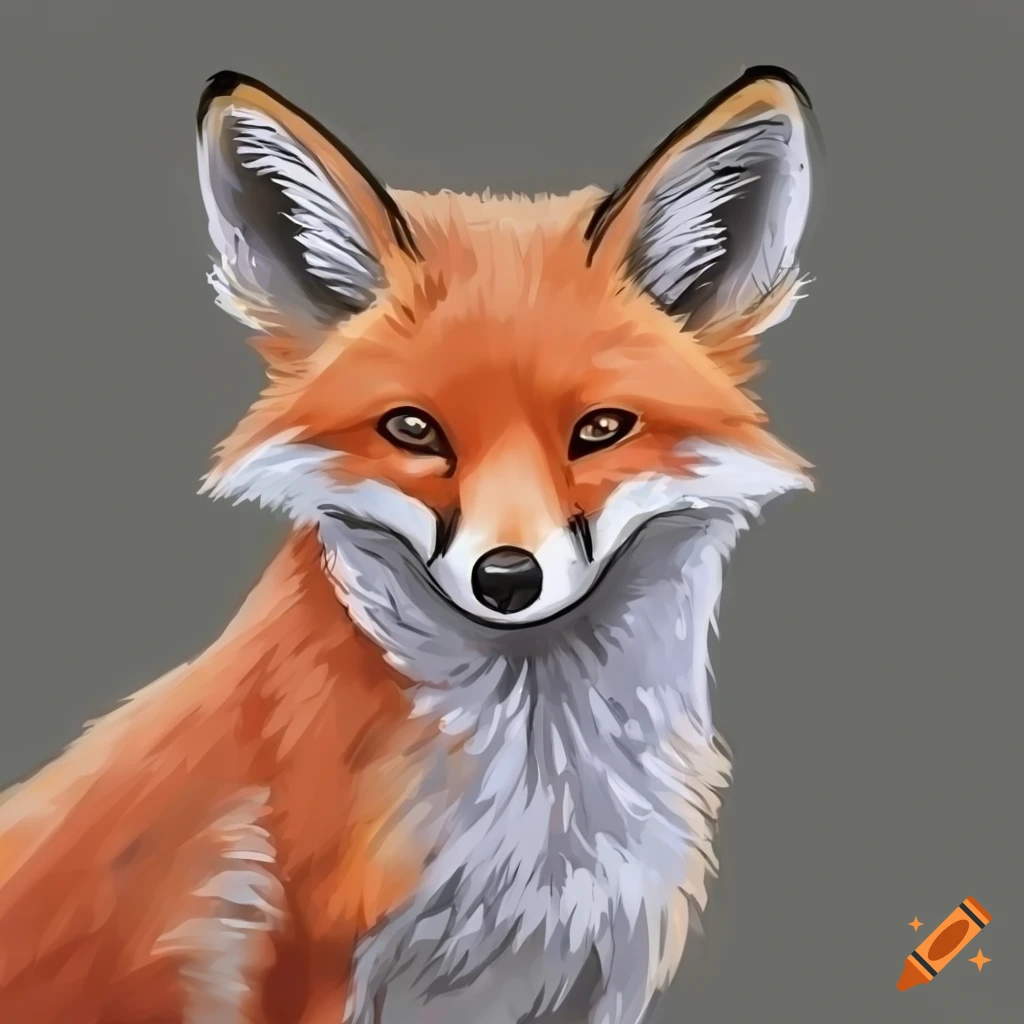
If you’ve ever gazed at a fox and marveled at its cunning eyes and elegant posture, you’re not alone. Drawing a fox can be both an exciting challenge and a rewarding experience. Whether you’re an aspiring artist or just looking for a fun way to spend your afternoon, mastering the art of drawing this captivating creature is within your reach. With some simple techniques and tips, you’ll soon be able to capture the essence of these magnificent animals on paper. Get ready to unleash your creativity as we dive into the world of drawing:1enzi6g2cvg= fox!
Table of drawing:1enzi6g2cvg= fox
Creating a table for drawing a fox can be an effective way to organize your approach. This simple tool helps you visualize each stage of the process.
Start by sketching basic shapes. A circle for the head, ovals for the body, and triangles for ears set up a solid foundation.
Next, break down details into manageable sections. Focus on facial features like eyes and nose before moving on to fur texture and tail shape.
Don’t forget proportions! Keeping everything in balance ensures your fox looks realistic. Adjust as necessary to maintain that playful yet sly expression characteristic of these creatures.
Incorporating shading techniques is essential too; it adds depth and dimension to your drawings. Use different pencil pressures or blending tools to achieve various effects across fur areas.
Keep experimenting with colors if you’re working digitally or with paints. The more you practice using this structured approach, the better your skills will become.
Materials Needed

To begin your journey in drawing a fox, gather some essential materials. A good quality sketchbook is important for practicing your skills. Look for paper that can handle various mediums.
Pencils are crucial; consider using a range from HB to 6B. This will give you options for different shading techniques and line depths.
An eraser should not be overlooked. A kneaded eraser works wonders when it comes to lifting graphite without damaging the paper.
Don’t forget about fine liners or ink pens if you’re looking to outline your work later on. They add clarity and definition to your drawings.
Colored pencils or watercolors can bring life to your fox illustrations, allowing you to experiment with vibrant hues and textures that mimic fur. With these tools at hand, you’re ready to start creating!
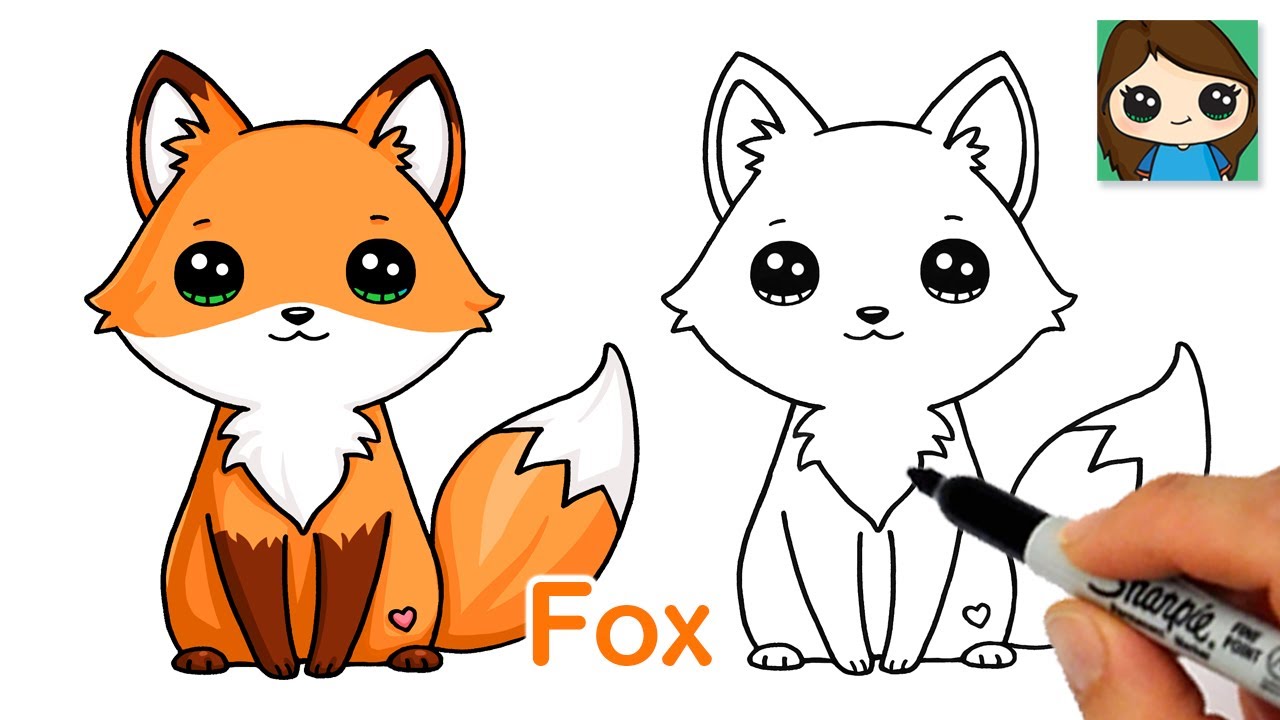
Step-by-Step Drawing Guide

Start with a light pencil sketch. Begin by drawing a simple oval for the fox’s head and an elongated shape beneath it for its body.
Next, add guidelines to help position the facial features. Place small circles where you want the eyes, and draw a triangle for the snout at the front of the head.
Focus on defining the ears next. Foxes have pointy ears that can be drawn as two upward triangles atop your initial oval.
Once you have these basic shapes in place, start refining them into more detailed outlines. Smooth out your lines to resemble fur contours, adding curves to mimic their agile bodies.
Don’t forget about those bushy tails! Sketch it using flowing lines that capture movement.
Erase any unnecessary guidelines and prepare to add color or shading later on when you’re satisfied with your outline.
Top 10 Tips for Improving Your Fox Drawings
To elevate your fox drawings, start by studying real-life references. Observe how their fur flows and the way they move.
Practice sketching basic shapes first. Break down the fox into simple forms like circles and triangles to capture its structure more effectively.
Experiment with different poses. Foxes are playful creatures, so try drawing them in various stances to make your art dynamic.
Focus on the eyes; they express character. Make sure they’re lively and reflect a hint of mischief.
Vary your line weight when outlining. Thicker lines can emphasize certain areas while thinner ones add delicacy.
Use color wisely if you’re working in color mediums. Reds, oranges, browns, and whites should complement each other without overwhelming the composition.
Don’t shy away from adding texture to the fur. Use short strokes for a realistic feel that brings your fox to life.
Study light sources too; shadows create depth and dimension in your artwork.
Be patient with yourself as you develop skills over time—each drawing is an opportunity for growth!
top 5 Common Mistakes to Avoid
When drawing a fox, many artists stumble over common pitfalls. One of the biggest mistakes is neglecting proportions. A fox’s body should be balanced; its head shouldn’t be too large or small compared to its torso.
Another frequent error is skipping basic shapes. Starting with simple circles and ovals can lay a solid foundation for your drawing, making it easier to refine later.
Many also forget about fur texture. Rushed strokes often lead to flat appearances. Take time to layer your lines, mimicking the softness of fur instead of using harsh edges.
Color choices can derail your progress as well. Using unrealistic colors detracts from the realism you may wish to achieve. Pay attention to actual foxes in nature for inspiration on their beautiful hues.
Overlooking eye detail diminishes personality in your artwork. The eyes breathe life into your drawings—capture that spark!
Basic Drawing Materials You Will Need
To embark on your journey of drawing a fox, gathering the right materials is essential. Start with a good quality sketchbook. Choose one that feels comfortable fogood-qualityw on.
Next, invest in a set of pencils. A range from 2H to 6B will give you versatility in shading and line work.
Erasers are just as crucial. Keep both a kneaded eraser and a traditional rubber one handy for different needs.
Don’t forget about fine liners or ink pens if you want to add detail later on. They create crisp lines that can elevate your artwork.
Consider colored pencils or watercolors if you’re feeling adventurous! These can bring life and vibrancy to your drawing once you’ve mastered the basics.
Step-by-Step Guide for Drawing a Fox
Begin with a light sketch. Use basic shapes to outline the fox’s form. Start with an oval for the head, followed by a larger circle for the body.
Next, add triangular shapes for the ears. These will give your fox that distinct alert look. Draw thin lines extending from the body for legs and a bushy tail rising behind.
Once you have your shapes down, refine them into more defined contours. Smooth out jagged edges and adjust proportions as needed. Pay attention to making those curves fluid; this adds gracefulness to your drawing.
Focus on facial features next—eyes should be bright and expressive while adding detail around the snout gives it character.
After completing these steps, proceed to shading or coloring if desired. Layering helps create depth and brings life to your artwork just like in nature where these creatures thrive.
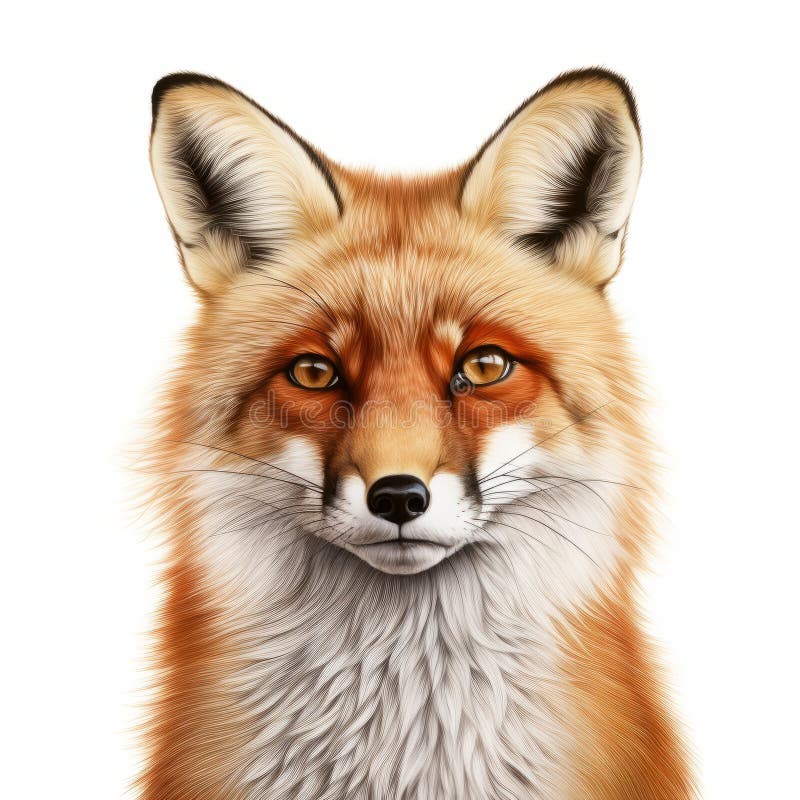
Tips for Capturing the Essence of a Fox
To truly capture the essence of a fox in your drawing, start by observing its movement. Foxes are agile and graceful creatures. Pay attention to how they leap or scurry.
Next, focus on their facial expression. A fox’s eyes convey intelligence and curiosity. Experiment with different eye shapes to reflect these traits.
Consider the fur texture as well; it varies from bushy tails to sleek bodies. Use varied strokes with your pencil or brush to replicate this diversity in softness and density.
Don’t forget about color! The rich reds, browns, and whites create depth. Mix shades for a more lifelike representation.
Imagine the habitat of the fox while you draw. Whether it’s a forest or an urban setting, elements like grass or trees can enhance the context of your artwork.
Common Mistakes to Avoid When Drawing a Fox
ofe of the most common mistakes when drawing a fox is overlooking its unique proportions. Many artists tend to exaggerate features, which can lead to an unrealistic representation. Pay attention to the body structure—foxes have slender bodies and bushy tails.
Another frequent error involves neglecting fur texture. Focusing solely on outlines instead of incorporating lines that mimic the fluffiness can make your drawing look flat. Try adding varied strokes for a more dynamic appearance.
Additionally, failing to capture their expressive eyes is crucial. Foxes are known for their keen gaze; capturing this detail adds personality and life to your artwork.
Many beginners also rush through shading, resulting in harsh contrasts or uneven tones. Take your time to blend shadows smoothly, creating depth without overpowering other elements in the piece.
Advanced Techniques for Adding Depth and Detail
To elevate your fox drawings, incorporating advanced techniques can truly make a difference. Start by understanding light and shadow. Use soft pencil strokes to create gradients that mimic the natural contours of a fox’s fur.
Texture is key. Experiment with cross-hatching or stippling to depict the intricate patterns in their coat. Varying the pressure on your pencil will help achieve different levels of darkness, adding dimension.
Don’t forget about color! If you’re using colored pencils or watercolors, layering colors enhances depth. Begin with lighter shades and gradually build up darker tones for richness.
Consider background elements too. A simple forest scene or hints of grass can provide context and frame your subject beautifully without overshadowing it.
Keep practicing these techniques consistently; mastery comes with time and dedication as you refine each detail in every drawing session.
Conclusion: Practice Makes Perfect!
Mastering the art of drawing a fox takes time and dedication. Each stroke you make adds to your skill set, building confidence along the way.
Embrace mistakes as part of your journey. They are not failures; they’re lessons that guide your improvement. With every attempt, you’ll develop a deeper understanding of proportion, anatomy, and texture.
Set aside regular practice sessions. Consistency is key in transforming those initial sketches into stunning representations.
Experiment with different styles and techniques too. This exploration will enrich your creativity and help you discover what resonates most with you.
Remember that every artist was once a beginner. Celebrate small victories as you progress on this artistic path—each one brings you closer to mastering the enchanting form of the fox!
FAQs drawing:1enzi6g2cvg= fox
What materials do I need to start drawing a fox?
To begin, you will need some basic materials like sketching paper, pencils (preferably HB and 2B), an eraser, and colored pencils or markers if you want to add color.
Is it necessary to use reference images for drawing a fox?
Using reference images is highly recommended. They can provide insight into the proportions and details that make your drawing more accurate.
How long does it take to master drawing a fox?
The time varies from person to person. Regular practice will speed up your progress significantly. Aim for short sessions daily rather than infrequent, lengthy ones.
Can I draw a realistic-looking fox without prior experience?
Absolutely! While realism takes practice, starting with simple shapes and gradually adding detail can lead you there over time.
What are some good resources for learning how to draw animals?
Books on animal anatomy, online tutorials specific to animal drawings, and YouTube channels dedicated to art can be incredibly helpful as learning tools.
By addressing these common queries about drawing a wild yet charming creature like the fox, you’re set up for success in honing your skills further. Keep practicing; every stroke brings improvement!

Pingback: Step-by-Step Drawing:PDO-Peeekam= Jack Skellington