Introduction drawing:plcxcsjeqpq= mushroom
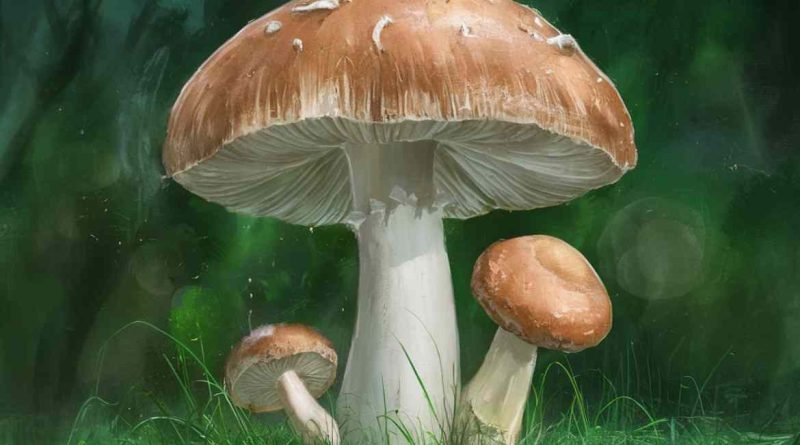
Have you ever admired a mushroom and marveled at its intricate shapes and vibrant colors? Those whimsical fungi offer endless inspiration for artists, whether you’re a seasoned pro or just starting. Drawing mushrooms can be fun and fulfilling, allowing you to explore your creativity while honing your artistic skills. In this guide, we’ll walk you through the art of drawing mushrooms step-by-step. With a few materials in hand and some essential techniques up your sleeve, you’ll soon find yourself capturing these enchanting subjects on paper like never before. Ready to unleash your inner artist? LLet’sdive in!
Materials Needed

Gather your materials before drawing:plcxcsjeqpq= mushroom. This will set a solid foundation for your creative journey.
Start with quality paper. Choose something that can handle pencil and ink without warping. A sketchbook is perfect for practice.
Next, select your pencils. Use a range from hard to soft leads. A 2H pencil works well for initial outlines, while 4B or 6B pencils are great for shading and detailing.
Don’t forget an eraser! A kneaded eraser is fantastic for lifting graphite gently without damaging the paper.
Those who enjoy color should consider colored pencils or watercolors. Both can bring life to your mushroom drawings in unique ways.
If you want to add intricate details later, have some fine-tipped pens on hand. With these materials ready, you’re all ready to unleash your creativity onto the page! https://techn9ne.us/
Understanding the Basics: Tools and Techniques for Drawing
Having the right tools is essential to embarking on your journey of drawing mushrooms. A sketchpad with textured paper can enhance your experience. Choose pencils in various hardness levels for different effects—HB for general sketches and softer grades like 2B or 4B for darker lines.
Erasers play a crucial role, too. A kneaded eraser helps you lift off graphite without damaging the paper. Consider fine-tipped pens or markers if you’re looking to add ink later.
Understanding techniques will elevate your mushroom drawings. When outlining, start with light strokes, allowing room for adjustments. Experiment with cross-hatching and stippling to create a texture that resembles gills and caps.
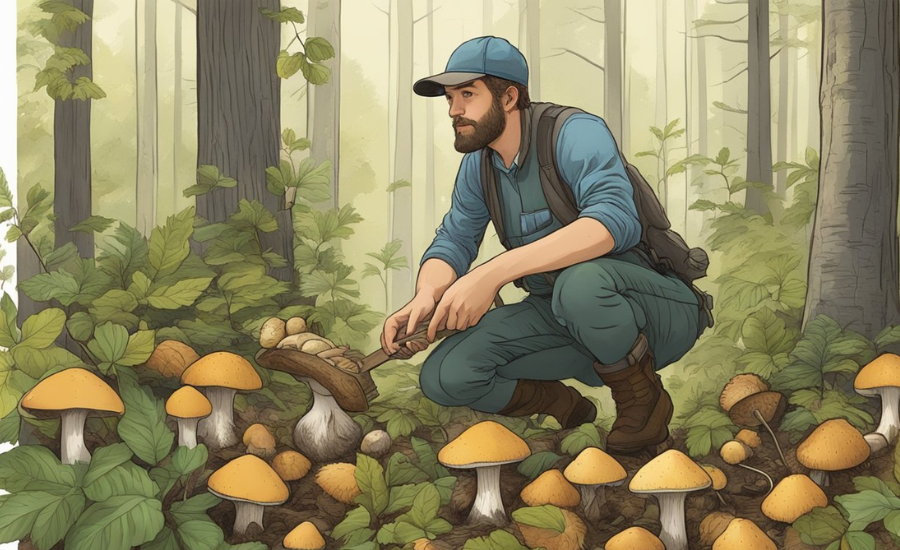
Practice using reference images from nature to grasp realistic shapes better. Observing real-life mushrooms will give you insights into their proportions and unique characteristics, making your artwork more authentic and engaging.
Step 1: Sketching the Outline of a Mushroom

Begin by choosing the type of mushroom you want to draw. Whether it it’s an basic toadstool or an elegant chanterelle, having a reference image can be immensely helpful.
Start with basic shapes. Commonly, mushrooms have rounded caps and straight stems. Use simple circles for the cap and rectangles or curves for the stem.
Keep your pencil light at this stage. This will allow you to easily adjust lines without leaving heavy marks on your sketchpad.
Focus on proportions as you outline. Consider how wide the cap is compared to its height and ensure the stem supports it well.
Feel free to add slight variations in shape; nature loves imperfections! Your goal here is not perfection but rather capturing the essence of your chosen mushroom before diving into further details.
Step 2: Adding Details and Texture to the Mushroom
Now, it’s time too breathe life into your mushroom drawing. Start by observing the unique features of different mushrooms. Notice the gills, spots, and ridges that define their character.
Use short, deliberate strokes to add texture to the cap and stem. Consider employing cross-hatching techniques for depth. This approach can create a rustic feel that mimics randomness.
Remember imperfections; they tell a story, too. A small blemish or uneven surface adds realism.
Focus on layering details gradually. Build up from light lines to darker ones as you refine your work.
Remember, contrast is key in creating interest. Play with varying line thicknesses and patterns to keep viewers engaged with your piece.
Step 3: Playing with Light and Shadow to Create Depth
Mastering light and shadow is essential to bringing your mushroom drawing to life. Start by identifying where the light source is coming from. This will dictate where you apply highlights and shadows.
Use lighter shades on areas facing the light. These spots catch the eye first, enhancing realism. Gradually blend darker tones on the opposite side for depth.
Experiment with cross-hatching or stippling techniques to add texture in shaded areas. This gives your mushroom structure a three-dimensional feel.
Pay attention to cast shadows as well; they ground your subject in space. A soft edge can create an airy look, while sharper lines give weight and presence.
Always step back periodically during this process. Fresh eyes help identify if adjustments are needed to balance lightness and darkness.
Step 4: Adding Color and Finishing Touches
Color brings your mushroom drawing to life. Start by selecting a palette that reflects the natural hues of mushrooms—consider earthy browns, deep reds, and soft yellows.
Use colored pencils or watercolors for rich textures. Layering colors adds depth; begin with lighter shades and gradually introduce darker tones for shadows. This technique enhances dimension and realism.
Don’t forget about the highlights! A white or light yellow touch can simulate sunlight glinting off the surface. It is These details that elevate your artwork.
Once satisfied with the color application, step back and assess your work. Look for areas that might need more detail or contrast.
Sign your masterpiece subtly in a corner to give it a personal touch—it’s now ready to be admired!
Tips for Improving Your Drawing Skills
Improving your drawing skills takes practice and patience. Start by observing the world around you. Take time to study shapes, shadows, and colors in nature.
Experiment with different styles. Try sketching realistic mushrooms one day and abstract forms the next. This variety keeps your creativity flowing.
Practice regularly, even if it’s just for a few minutes daily. Consistency builds muscle memory and sharpens your techniques.
Don’t shy away from critiques. Share your work with friends or online communities that can offer constructive feedback.
Incorporate references into your practice sessions; photos or real-life objects can help refine proportions and details.
Keep an art journal to track progress over time. Documenting each step will motivate you as you see how much you’ve evolved in your journey of drawing mushrooms or any other subject matter!
Conclusion: drawing:plcxcsjeqpq= mushroom
Mastering the art of drawing mushrooms can be a fulfilling journey. By following each step, you learn techniques and unlock your creativity. Embrace the process—experiment with different styles and colors to make your mushroom drawings uniquely reflect your artistic vision.
Remember, practice is key. The more you draw, the better you’ll become. Don’t shy away from mistakes; they often lead to unexpected breakthroughs in your artwork.
Keep honing your skills and exploring new methods. With time and patience, you’ll find joy in every stroke as you bring these fascinating fungi to life on paper. Happy drawing!

Pingback: aesthetic:lvrgqqchonw= halloween background 2024